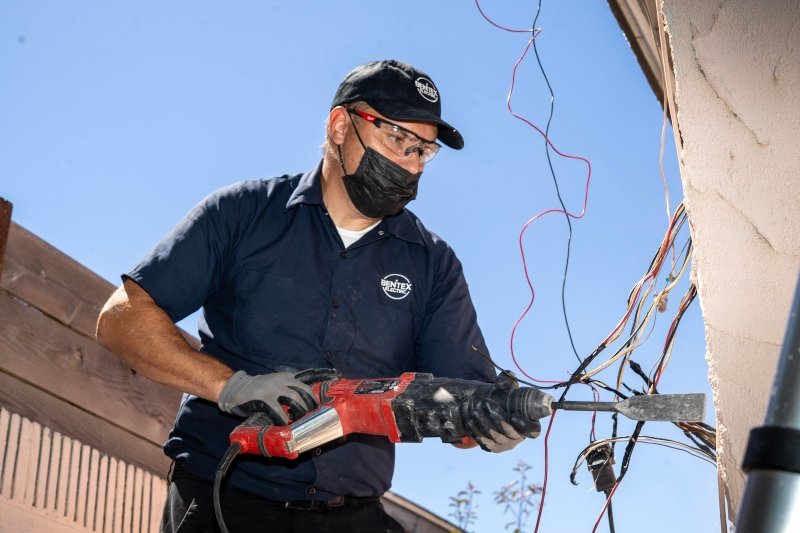
Remodeling an Electric Vehicle (EV) charger installation involves updating, upgrading, or physically relocating your home’s Electric Vehicle Supply Equipment (EVSE) setup Irvine, CA. Whether you are converting an existing plug-in charger to a higher-powered hardwired unit, moving your charger to accommodate a new garage layout, adding a second charging port for a multi-EV household, or roughing in dedicated wiring during a major home renovation, remodeling your charging infrastructure ensures your electrical system remains safe, efficient, and fully code-compliant.
Unlike initial plug-and-play installations, remodeling an existing EV charger setup requires evaluating current panel capacity, re-calculating electrical continuous loads, re-routing conduit and conductor wiring, and adhering to local municipal permitting standards. Doing this work during an active garage or home remodel can save property owners 30% to 50% in labor costs compared to retrofitting finished spaces later.
Why Remodel Your Existing EV Charger Setup?
As electric vehicle battery capacities expand and household driving needs evolve, initial charging configurations often prove inadequate or inconvenient.
Common Reasons Homeowners Upgrade or Remodel EV Charging
| Power & Charging Speed | Relocation & Convenience | Multiple EV Charging |
|---|---|---|
|
|
|
Homeowners typically remodel their charging installation for four key reasons:
1. Converting Plug-In Outlets (NEMA 14-50) to Hardwired Connections
Early Level 2 installations frequently relied on 240-volt NEMA 14-50 wall receptacles. However, the National Electrical Code (NEC) requires Ground-Fault Circuit-Interrupter (GFCI) breakers on all garage and outdoor receptacles. High-power EV chargers already feature internal GFCI diagnostics, leading to frequent “nuisance tripping” when paired with GFCI breakers. Converting to a hardwired connection removes the receptacle, eliminates thermal points of failure, allows higher continuous amperage (up to 48A or 80A on a 60A/100A breaker), and removes the need for an upstream GFCI breaker.
2. Physical Relocation for Garage or Driveway Renovations
Reconfiguring garage cabinetry, installing epoxy flooring, or buying a new EV with a charging port on the opposite corner of the vehicle often necessitates moving the wall charger. Relocating an EVSE requires extending or re-routing branch circuit conductors, installing junction boxes, or pulling fresh copper wire through updated conduit runs.
3. Upgrading Amperage for Faster Charging
A 16-Amp or 32-Amp Level 2 charger recovers approximately 12 to 25 miles of range per hour. Upgrading to a 48-Amp continuous charger (requiring a 60-Amp double-pole circuit breaker) increases recovery to 35–45 miles per hour. Remodeling the circuit involves verifying that wire gauges (shifting from 8 AWG to 6 AWG or 4 AWG THHN copper conductors) can handle the thermal load.
4. Preparing for Multi-EV Households
Adding a second electric vehicle does not always require installing a second dedicated 50-Amp circuit. Modern remodeling strategies utilize smart load sharing or dynamic energy management systems (EMS) that balance available panel amperage across two chargers automatically.
Technical Specifications: Remodeling Scenarios Compared
Selecting the correct approach depends on your current panel capacity, existing wire gauge, and long-term charging goals.
| Remodeling Scenario | Voltage & Breaker Size | Wire Gauge Required (Copper) | Maximum Continuous Output | Primary Code / Infrastructure Need |
| Level 1 to Level 2 Upgrade | 120V (15A) $\rightarrow$ 240V (50A) | 6 AWG THHN / 6/3 NM-B | 40 Amps (9.6 kW) | New 240V double-pole breaker; service panel load calculation |
| Plug-In to Hardwired Conversion | 240V (50A) $\rightarrow$ 240V (60A) | 6 AWG THHN (In Conduit) | 48 Amps (11.5 kW) | Hardwired terminal box; remove NEMA 14-50 outlet & GFCI breaker |
| High-Power Hardwire Upgrade | 240V (60A) $\rightarrow$ 240V (80A/100A) | 3 AWG or 2 AWG Copper | 80 Amps (19.2 kW) | Direct heavy-gauge feeder line; potential main service panel upgrade |
| Charger Relocation (Same Garage) | Retain existing 240V rating | Match existing circuit (6-8 AWG) | Retain current kW output | Metal junction box splash-splice or fresh wire pull through EMT/PVC |
| Dual-EV Load-Sharing Addition | 240V (50A Shared) | 6 AWG THHN | Dynamic (20A + 20A or 40A single) | Smart EVSE units with Wi-Fi power sharing protocol |
Step-by-Step Guide: How to Remodel an EV Charger Installation
Remodeling high-voltage, high-amperage electrical infrastructure must follow strict engineering protocols to prevent fire hazards, equipment damage, or code violations.
1.Perform an NEC Load Calculation & Capacity Audit: Determining available electrical capacity under NEC Article 220.
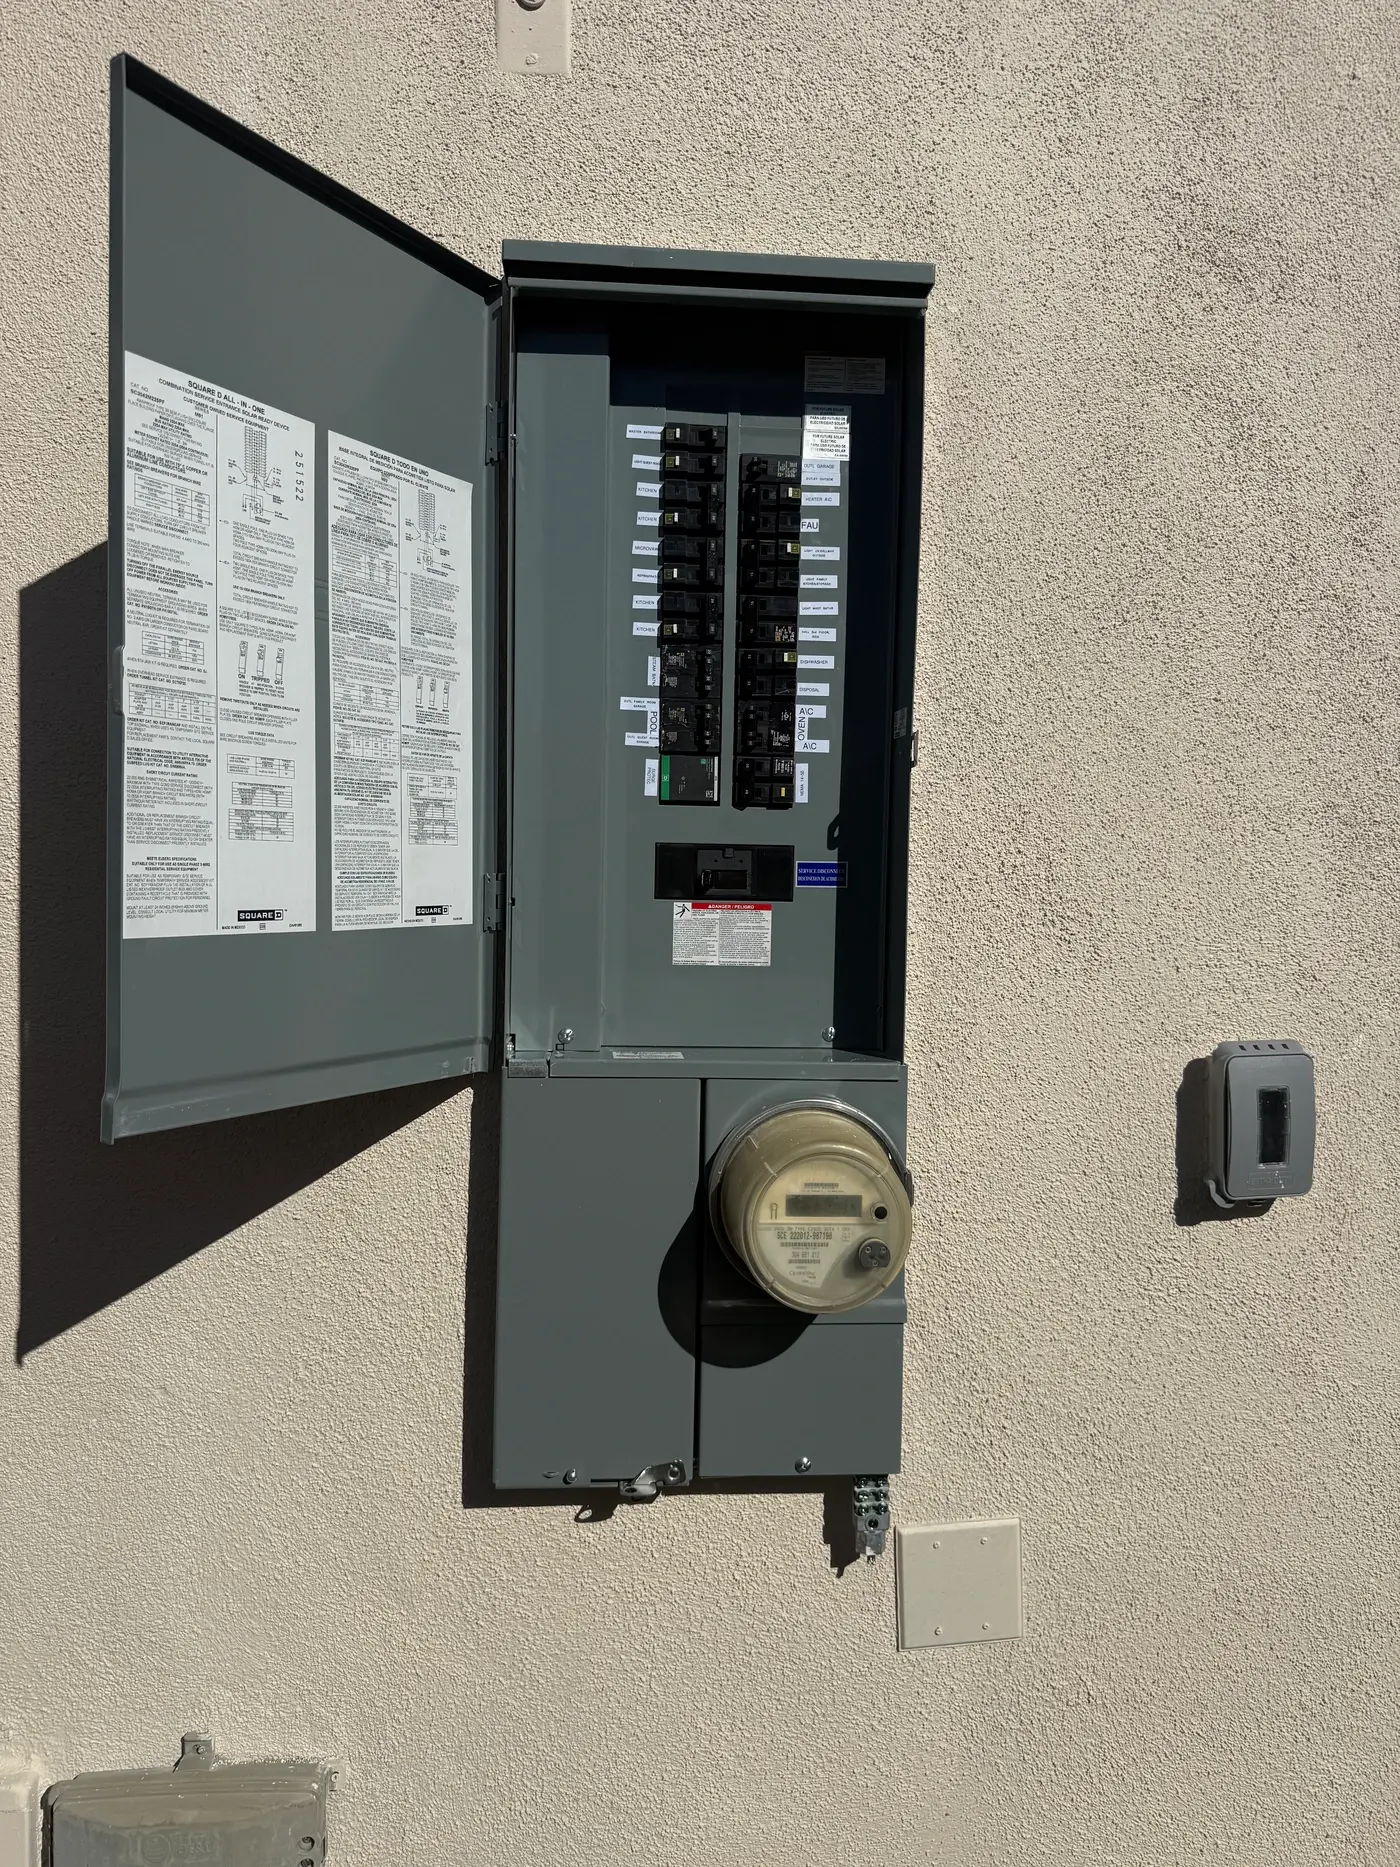
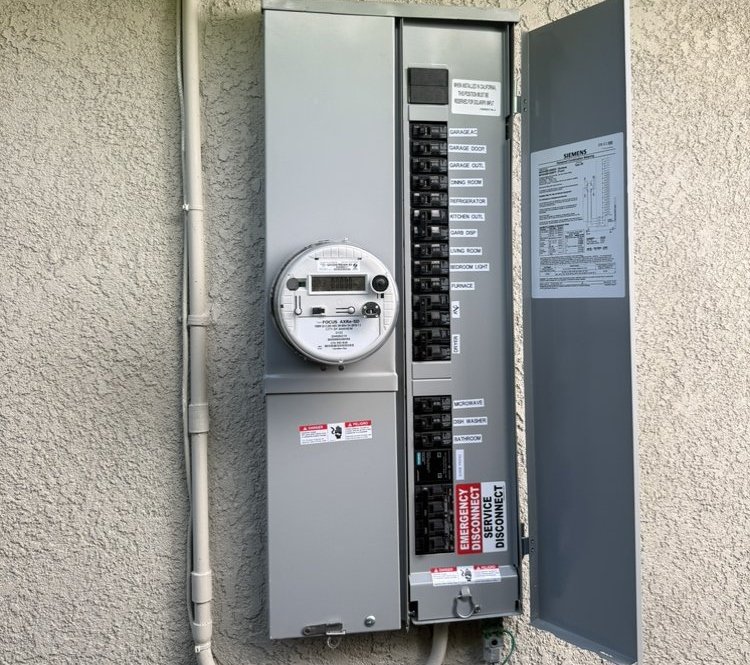
Before altering or moving wiring, perform a comprehensive panel load calculation. Sum up your home’s total connected load (HVAC, water heater, kitchen range, dryer) against your main panel rating (e.g., 100A, 150A, or 200A). If your calculated demand leaves less than 40–60 Amps of headroom, you must include an electrical panel upgrade or install an energy management system in your remodel plans.
2.Obtain Required Municipal Electrical Permits: Filing plans with your local Authority Having Jurisdiction (AHJ).
Remodeling an EV circuit—including changing breaker sizes, running new conduit, or converting outlets to hardwired terminals—requires an electrical permit in almost all jurisdictions. Submit a basic wiring diagram, load sheet, and hardware spec sheets to your municipal building department before starting demolition or construction.
3.Disconnect Power & Lockout Main Service: Ensuring zero-voltage conditions across the work area.
Shut off the main breaker supplying the panel or open the dedicated double-pole breaker feeding the EV circuit. Verify zero voltage at the charger terminals, receptacle, and breaker using a calibrated non-contact voltage tester and multimeter before touching conductors.
4.Upgrade or Re-route Circuit Wiring and Conduit: Installing THHN copper conductors inside EMT, PVC, or FMC conduit.
If relocating the charger across the room, run fresh Electrical Metallic Tubing (EMT) or rigid PVC conduit along wall studs or ceiling joists. For 48-Amp continuous charging, pull individual 6 AWG THHN copper wires (two hot conductors, one insulated neutral if required, and one 8 AWG ground conductor). Avoid excessive wire splices; run continuous wire pulls whenever possible.
5.Mount EVSE Hardware & Complete Electrical Terminations: Securing mounting brackets and torquing wire lugs.
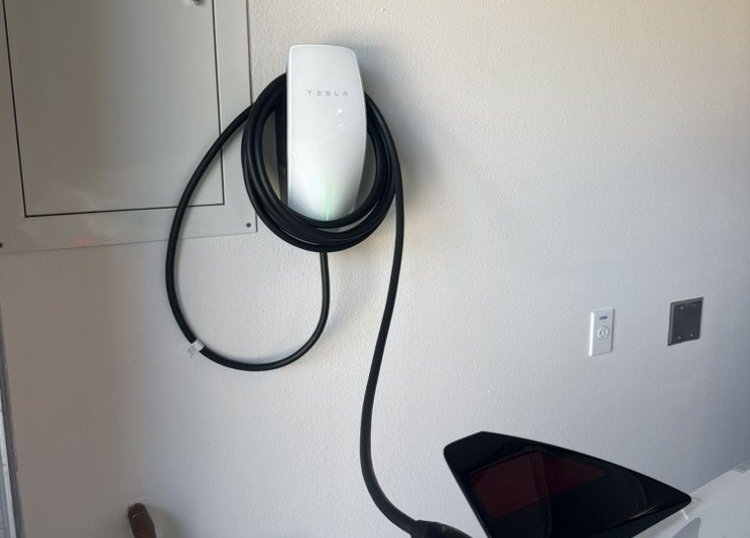
Mount the charger bracket into solid wall studs or masonry anchor points between 36 and 48 inches above finished floor level per ADA and local guidelines. Connect conductors to the EVSE input terminal block, applying the exact manufacturer-specified torque (measured in inch-pounds) using a torque screwdriver to prevent loose-wire arc faults.
6.Commission System & Pass Municipal Safety Inspection: Verification, ground testing, and permit sign-off.
Energize the circuit, test line-to-line and line-to-ground voltages, and connect smart EVSE models to home Wi-Fi for firmware configuration. Leave conduit and panel covers accessible for the city electrical inspector to sign off on the permit tag.
Garage Remodel Integration: Open-Wall Strategy & Future-Proofing
If you are remodeling your garage drywall, ceiling, or lighting layout, integrating EV charging infrastructure during the rough-in stage is the single most cost-effective move you can make.
Open-Wall Garage Remodel Roadmap
| 1. Oversized Conduit | 2. Garage Subpanel | 3. Charger Location Planning |
|---|---|---|
| Conduit: Install appropriately sized conduit during the open-wall stage so future EV charging circuits or wiring can be added more easily. | Subpanel: Consider a dedicated garage subpanel when the electrical design requires additional capacity for EV chargers, tools, lighting, or other garage loads. | Layout: Plan charger, junction-box, and cable locations before the walls are closed to minimize future electrical modifications. |
The Continuous Load Rule (80% NEC Rule)
Because electric vehicle charging draws continuous power for hours, the NEC classifies EVSE as a continuous load (NEC Article 625). Circuit conductors and breakers must be sized for 125% of the charger’s maximum current output.
- 48A Charger Output: $48\text{ A} \times 1.25 = 60\text{ A Breaker required}$
- 40A Charger Output: $40\text{ A} \times 1.25 = 50\text{ A Breaker required}$
- 32A Charger Output: $32\text{ A} \times 1.25 = 40\text{ A Breaker required}$
When wall cavities are exposed during a remodel, installing 1-inch EMT conduit rather than standard 3/4-inch conduit gives you the flexibility to upgrade to thicker wire gauges later without tearing down finished drywall.
Smart Energy Management Systems (DCC / Load Shedders)
If your home’s electrical service is capped at 100 or 125 Amps and a utility panel upgrade is cost-prohibitive, integrate a Demand Charge Controller (DCC) or smart load-sharing device during your remodel. These devices monitor real-time household electrical consumption. When total home load nears panel limits (e.g., when the electric oven and air conditioner run simultaneously), the load manager automatically pauses EV charging and resumes full speed once household demand drops.
Cost Estimates for EV Charger Remodeling Projects
Remodeling expenses vary depending on whether wiring must be replaced, panels upgraded, or walls reopened.
| Remodel Scope | Estimated Cost Range (Labor & Materials) | Primary Cost Drivers |
| Basic Relocation (Within 10 Feet) | $350 – $750 | Conduit extensions, junction box, wire pull labor |
| Plug-In to 48A Hardwired Conversion | $450 – $900 | 60A breaker, 6 AWG copper wire pull, EVSE hardwiring |
| Open-Wall Garage Rough-In (Pre-Drywall) | $300 – $600 | Materials, labor efficiency, conduit placement |
| Remodel with Garage Subpanel Addition | $1,200 – $2,200 | 100A subpanel, feeder cable, breaker organization |
| Full Remodel (Panel Upgrade + Hardwired EVSE) | $2,800 – $5,500 | 200A main service swap, utility coordination, permits |
4 Common EV Charger Remodeling Pitfalls to Avoid
- Reusing Undersized Wiring for Higher Amperage: Never upgrade a breaker from 40A to 60A without verifying wire gauge. Running 48 Amps through 8 AWG non-metallic (NM-B) wire generates extreme heat and causes catastrophic insulation melting.
- Ignoring Cable Reach and Vehicle Port Placement: EV charging cables typically range from 18 to 25 feet. During a garage redesign, measure from the charger wall mount to the vehicle’s charge port, accounting for backing in or parking outside on the driveway.
- Failing to Install Industrial-Grade Receptacles: If retaining a plug-in setup, avoid standard $10 builder-grade NEMA 14-50 outlets. Heavy continuous EV thermal cycling causes cheap outlets to melt. Use industrial-grade receptacles (such as Hubbell or Bryant) rated for continuous duty.
- Skipping Electrical Safety Inspections: Unpermitted, DIY electrical remodeling invalidates homeowner insurance policies in the event of an electrical fire and forfeits local utility rebate eligibility.
When planning a complex upgrade, consulting a licensed residential electrician ensures your remodeled system complies with all regional safety codes and manufacturer requirements.
Frequently Asked Questions
Can I move my EV charger to a different wall in my garage?
Yes, moving an EV charger is a routine electrical remodel. A electrician will either run new conduit and pull continuous wiring from the electrical panel to the new wall location or install a code-compliant junction box to extend the existing circuit.
Is it better to hardwire an EV charger or keep a plug-in outlet during a remodel?
Hardwiring is generally superior. Hardwiring eliminates GFCI nuisance tripping, removes a potential heat/thermal failure point at the receptacle, allows higher charging speeds (up to 48A on a 60A breaker), and presents a cleaner, tamper-resistant installation.
Do I need to pull a new permit when remodeling an existing EV charger setup?
Yes. Any modification to permanent electrical wiring, breaker capacity, or conduit routing requires an electrical permit and subsequent municipal inspection from your local building department.
How do I remodel my charger setup for two electric vehicles?
You can either install a garage subpanel with two dedicated branch circuits or install two smart EV chargers equipped with dynamic load sharing. Load-sharing chargers communicate via Wi-Fi to divide a single 50A or 60A circuit safely between two cars.
Will remodeling my EV charger require an electrical panel upgrade?
Only if your current panel lacks sufficient capacity under NEC load calculation rules. If your calculated panel demand exceeds safe limits, you can either upgrade to a 200-amp main panel or install a smart energy management load-shedding device.
Upgrade Your EV Charging Infrastructure with BeniteX Electric
Whether you are upgrading an existing Level 2 setup, converting plug-in receptacles to high-speed hardwired chargers, or remodeling your garage from the ground up, trust the master electricians at BeniteX Electric.
Our certified technicians handle every phase of your project—from load calculations and custom conduit routing to municipal permit management and final code inspections.
Why Homeowners Choose BeniteX Electric:
- Turnkey Permit Management: We file all administrative paperwork, perform load calculations, and manage city inspections.
- Master Electrician Expertise: 100% code-compliant installations following strict NEC Article 625 safety guidelines.
- Rebate & Tax Credit Assistance: Complete documentation provided to help you claim local utility incentives and federal tax credits.
- Upfront Pricing: Clear, transparent estimates for hardwiring, relocations, and EV charger installation services.
Get Your Free EV Remodeling Quote Today
Ready to modernize your EV charging setup? Contact BeniteX Electric today for an expert consultation and comprehensive site evaluation.
- Call Us: (949)-259-5956
- Schedule Online: Book Your EV Charger Remodel Assessment
- Service Area: Residential and commercial electrical services across the Irvine, CA.