Installing a dedicated home EV charger transforms your daily driving experience by replacing frequent public charging station trips with reliable overnight charging. Moving from a standard 120V household outlet (Level 1) to a 240V Level 2 charging station reduces charging times from days to a few hours.
A safe, code-compliant residential installation requires clear preparation. Understanding your electrical infrastructure, selecting the right equipment, navigating local permitting, and knowing what to expect on installation day ensures a smooth process from start to finish.
Level 1 vs. Level 2 EV Chargers: Assessing Your Home Charging Needs
Electric vehicle supply equipment (EVSE) falls into distinct levels based on voltage output and charging speed. Matching equipment to your daily driving habits prevents unnecessary upgrades while ensuring your battery stays charged.
| Feature | Level 1 Charging | Level 2 Charging |
| Voltage | 120V (Standard household outlet) | 240V (Dedicated double-pole circuit) |
| Amperage Range | 12–16 Amps | 16–48 Amps (Hardwired up to 80A) |
| Charging Speed | 3–5 miles of range per hour | 25–40+ miles of range per hour |
| Full Charge Time | 24–40 hours | 4–8 hours |
| Installation Requirements | Standard grounded NEMA 5-15 outlet | Dedicated 240V circuit, breaker, optional hardwiring |
| Ideal Use Case | Low daily mileage, plug-in hybrids (PHEVs) | Daily commuters, long-range battery electric vehicles (BEVs) |
Level 1 charging works well as a temporary backup or for plug-in hybrids with small battery packs. For pure battery electric vehicles with 60kWh to 100kWh batteries, Level 2 home charging is the standard solution for complete overnight replenishment.
Evaluating Your Home’s Electrical Capacity
Before buying a charger, you must verify that your electrical service can handle the additional continuous load. An EV charger runs at maximum power for hours at a time, classifying it under the National Electrical Code (NEC) as a continuous load.
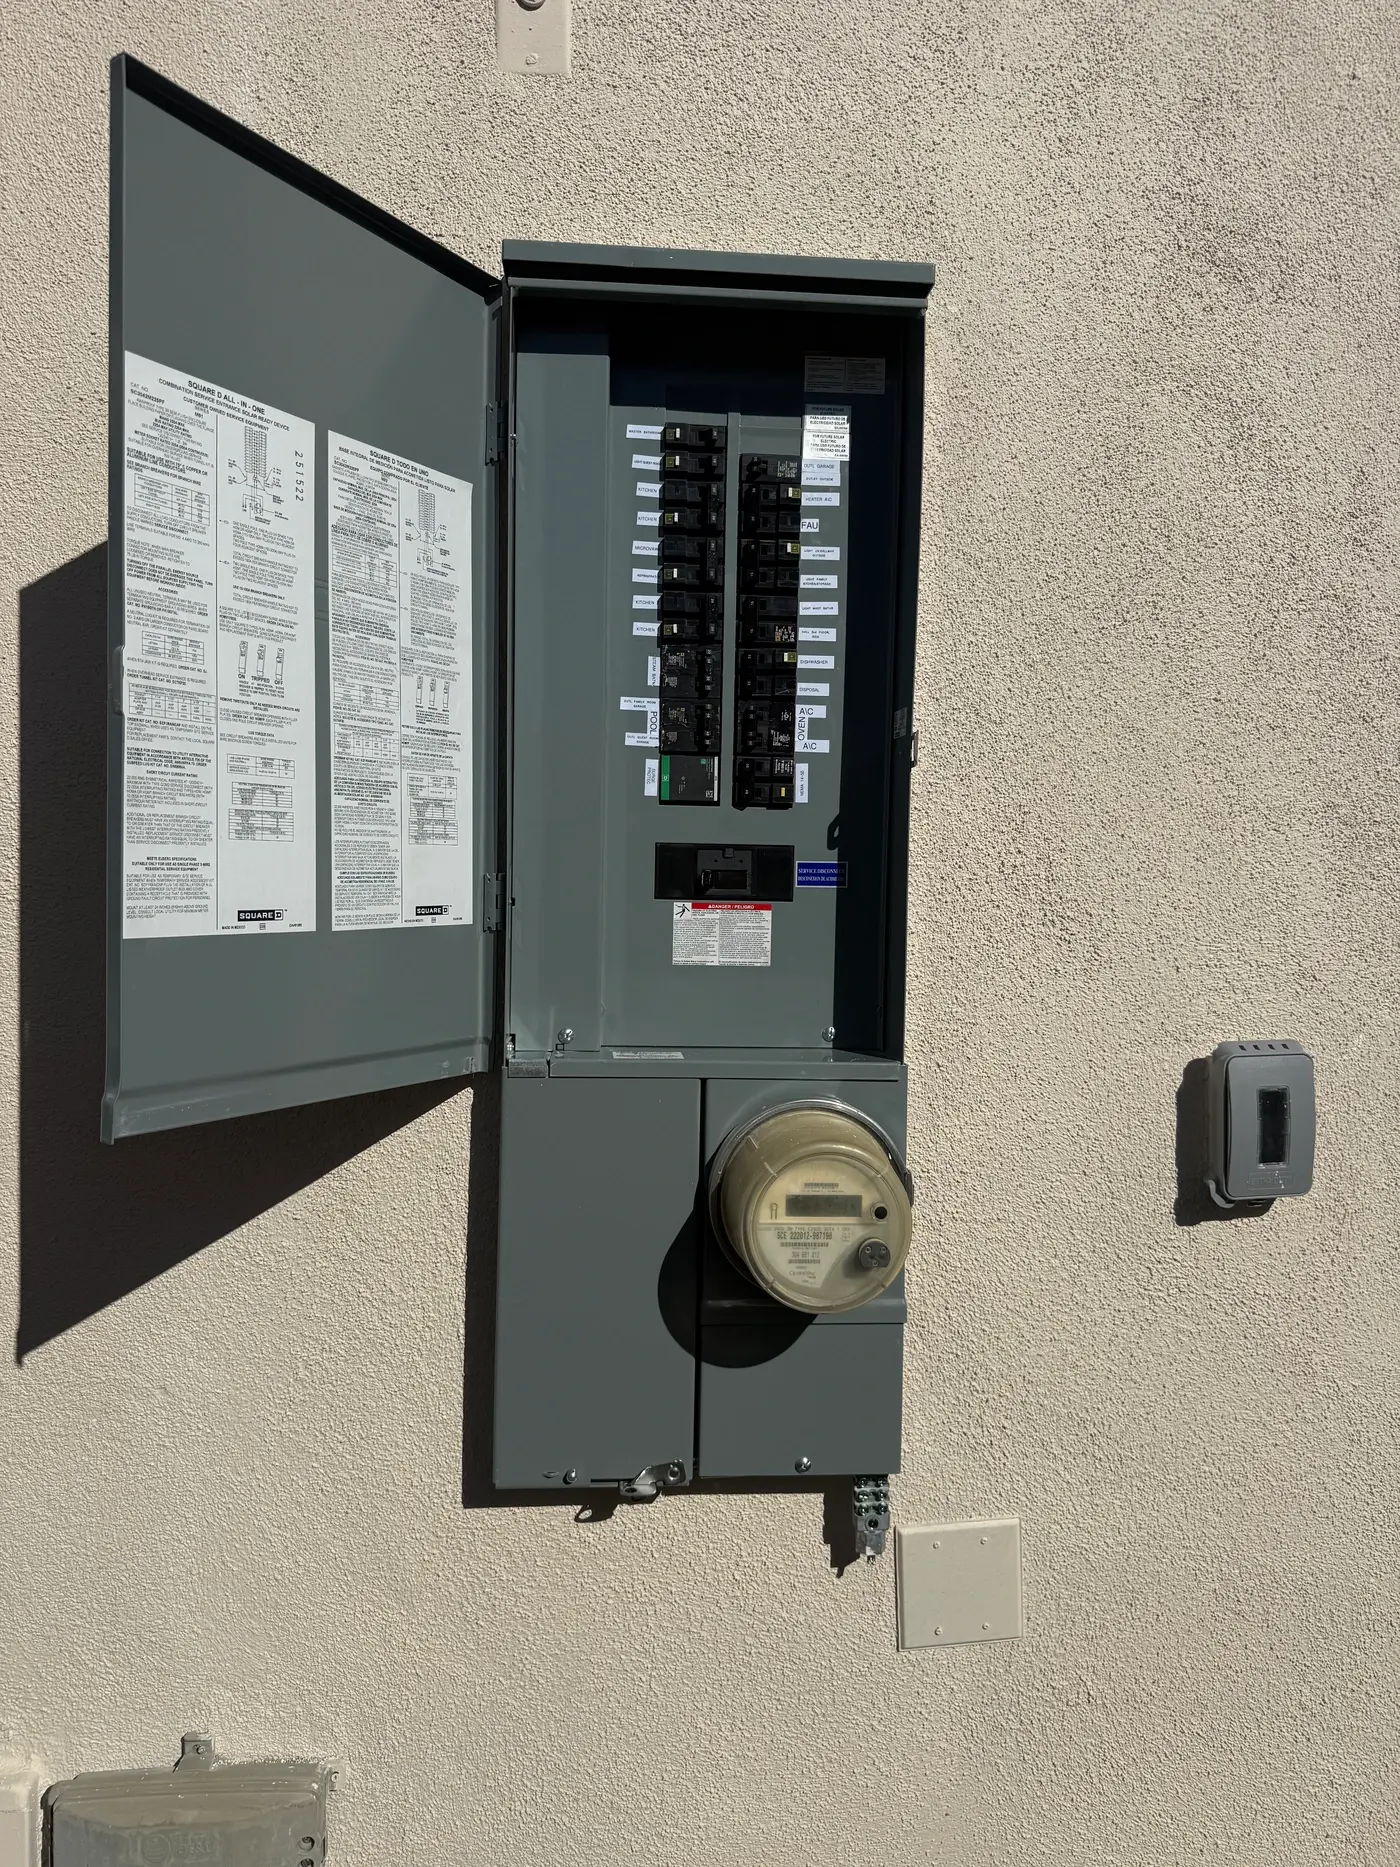
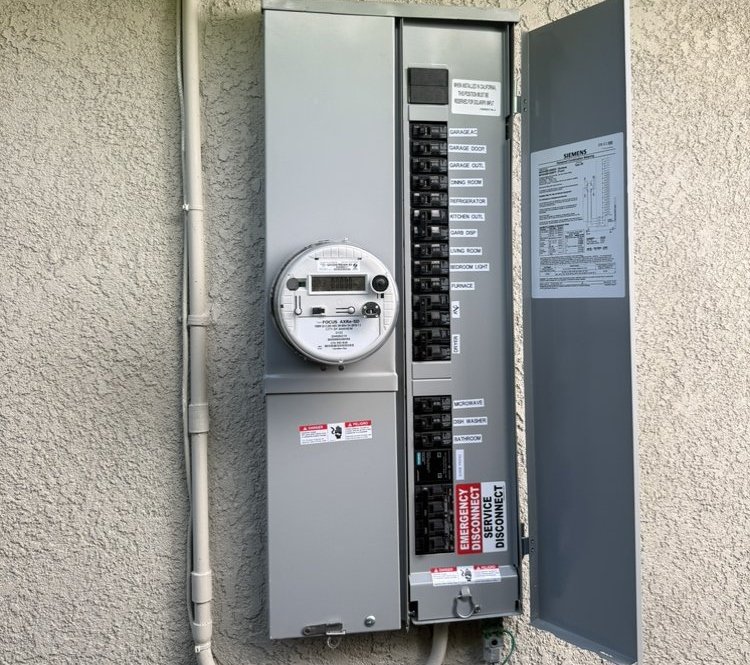
Electrical Panel Capacity & Amperage
Most homes built after 1990 feature a 200-amp main electrical panel, which generally provides sufficient headroom for a 40-amp or 50-amp Level 2 EV charger. Older homes equipped with 100-amp or 125-amp service panels frequently face capacity bottlenecks when operating high-draw appliances like air conditioners, heat pumps, and electric dryers alongside an EV charger.
To determine whether your existing main panel supports a new 240V branch circuit, a licensed electrician performs an NEC Article 220 load calculation. This calculation factors in:
- Total square footage of the residence
- Existing continuous and non-continuous appliance loads
- Heating and cooling load demands
- Nameplate rating of the proposed EV charger
If your load calculation indicates insufficient headroom, you may need an electric panel upgrade to safely expand your capacity to 200 amps before installing your charging station.
NEC requires circuit conductors and overcurrent protection to be sized at 125% of the continuous load.
| Charger Rating | Required Breaker |
|---|---|
| 32 Amps | 40 Amps |
| 40 Amps | 50 Amps |
| 48 Amps | 60 Amps |
Smart Energy Management Systems & Load Shedding
If upgrading your main service panel isn’t immediate, a Smart Energy Management System (SEMS) or automated load manager offers an alternative. These systems monitor real-time energy usage across your electrical panel. When overall home demand spikes—such as when an electric oven and HVAC unit run concurrently—the smart load switch automatically pauses or dials back amperage to the EV charger, preventing main breaker trips without expensive service utility upgrades.
Choosing the Right Charger Setup: Hardwired vs. Plug-In
Level 2 chargers connect to your electrical system using either a direct hardwired connection or a heavy-duty 240V receptacle.
Plug-In Chargers (NEMA 14-50 or NEMA 6-50)
- Max Output: Capped at 40 Amps (on a 50A breaker) per NEC guidelines for receptacle connections.
- Flexibility: Easy to unplug and carry with you if you relocate or visit a vacation property.
- Installation Cost: Slightly lower initial labor, but requires a high-grade industrial NEMA receptacle and a GFCI breaker.
- Component Wear: Standard builder-grade outlets can deteriorate under continuous thermal stress; industrial-grade receptacles (e.g., Hubbell or Bryant) are essential to prevent melting or arcing.
Hardwired Charging Stations
- Max Output: Unlocks faster 48-amp to 80-amp charging (requiring 60A to 100A dedicated breakers).
- Reliability: Eliminates plug-and-receptacle contact points, reducing thermal stress and corrosion risks.
- Weather Resistance: Ideal for outdoor installations exposed to rain, snow, and extreme ambient temperatures.
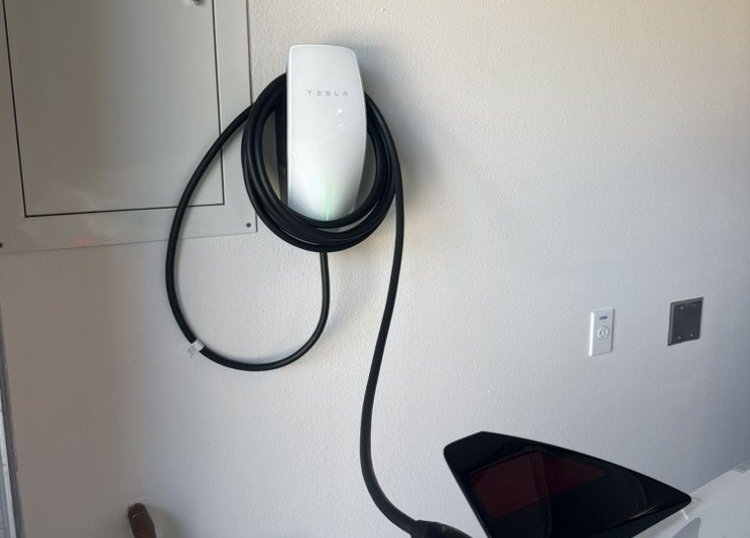
- GFCI Protection: Most modern hardwired wall connectors (such as Tesla Universal Wall Connector, ChargePoint Home Flex, or JuiceBox) feature built-in GFCI protection, eliminating double-breaker nuisance tripping.
For long-term reliability and maximum charging speeds, hardwired installations offer superior safety and performance for residential setups.
Step-by-Step Installation Process: What Happens on Installation Day
Knowing what happens during an installation helps you prepare your garage, driveway, or outdoor mounting area.
Step 1: Initial Site Assessment
Your electrician inspects your main electrical panel, measures the distance between the panel and the desired charger location, and identifies physical obstacles such as drywall, masonry, or soil that require trenching.
Step 2: Permitting and Local Compliance
Professional electricians pull electrical permits from your city or county building department prior to physical installation work. Performing unpermitted electrical work can void home insurance policies, violate local building codes, and create safety hazards.
Step 3: Infrastructure Preparation and Cable Routing
The electrician runs heavy-gauge copper conductors (such as THHN inside conduit or NM-B cable where code permits) from the main breaker panel to the charger site. Line sizing accounts for distance to prevent voltage drop over long cable runs.
Step 4: Physical Mounting and Electrical Termination
The charger unit is mounted securely to wall studs or an exterior pedestal. The electrician installs a new double-pole circuit breaker into the panel and wires the circuit directly to the terminal blocks or receptacle.
Step 5: Commissioning and Testing
Using diagnostic testing equipment, the installer verifies proper voltage, ground fault protection, and phase continuity. They then pair smart wall connectors with your home Wi-Fi network to enable scheduled off-peak charging and over-the-air firmware updates.
Cost Breakdown: Permits, Equipment, Labor, and Upgrades
Total installation expenses vary based on panel capacity, distance from the breaker box, and local labor rates.
| Cost Component | Typical Price Range | Key Variables |
| Level 2 Charger Unit (Hardware) | $400 – $900 | Smart connectivity, cable length, amperage output, hardwire vs. plug-in |
| Standard Installation Labor | $500 – $1,200 | Panel proximity to charger, wall mounting complexity, conduit runs |
| Electrical Panel Upgrade (if needed) | $1,800 – $4,500 | Upgrading from 100A to 200A service, utility drop modifications |
| Permits & Inspection Fees | $100 – $350 | Local municipal fee structures, plan reviews |
| Trenching / Structural Modifications | $500 – $2,000+ | Underground conduit runs for detached garages or outdoor pedestals |
| Total Estimated Investment | $1,000 – $4,500+ | Varies significantly based on home infrastructure age and layout |
Incentives and Federal Tax Credits
Under current federal provisions like the Inflation Reduction Act (Section 30C Alternative Fuel Vehicle Refueling Property Credit), qualifying taxpayers in eligible low-income or non-urban census tracts can claim a credit of up to 30% of installation costs (capped at $1,000) for hardware and labor combined. Additionally, local electric utilities frequently offer rebates on ENERGY STAR® certified smart chargers and off-peak charging rate discounts.
Long-Term Maintenance & Protection
While residential Level 2 charging stations are low-maintenance, basic care protects your equipment and vehicle charging port over time.
For routine care, schedule periodic professional ev charger maintenance to ensure terminal blocks remain torqued correctly and ground fault safety systems function within specification.
Simple home maintenance practices include:
- Cord Management: Wrap cables loosely around the wall mount holster after every use to prevent mechanical tension and vehicle rollover damage.
- Thermal Inspections: Periodically check the plug, wall receptacle, or hardwired enclosure for discoloration, unusual warmth, or burning odors.
- Weatherproofing: Keep outdoor connector holsters clear of standing water, ice, and debris. Clean rubber seals with a dry microfiber cloth.
Ready to Upgrade Your Home Charging Setup?
Installing a home EV charger requires proper planning, electrical assessment, and code compliance. Working with a licensed electrical contractor ensures your installation is safe, durable, and tailored to your vehicle’s specifications.
At Benitex Electric, our licensed electricians handle every step of your residential ev charger installation, from initial load calculations and panel upgrades to permitting and final commissioning. Contact us today to schedule your home site assessment and enjoy seamless Level 2 charging at home.
Frequently Asked Questions
Can I install a Level 2 EV charger myself?
No. Installing a Level 2 EV charger requires working inside your main electrical panel with high-voltage 240-volt circuits. DIY installations carry risks of severe electrical shock, fire hazards, code violations, and voided homeowners insurance policies. Always hire a licensed, insured electrical contractor.
How long does a typical home EV charger installation take?
For a standard installation where the electrical panel has sufficient capacity and is close to the mounting site, the physical work takes between 2 to 4 hours. If your project requires an electrical panel upgrade or extensive trenching, installation may take 1 to 2 days.
Do I need to upgrade my electrical panel for an EV charger?
Not always. If your home has a 200-amp main panel with open breaker slots and sufficient spare capacity according to an NEC load calculation, an upgrade isn’t necessary. However, older homes with 100-amp or 125-amp panels often require a main service upgrade or a smart load-management system to support Level 2 charging safely.
Is hardwiring better than installing a 240V NEMA plug?
Hardwiring is generally better for durability, weatherproofing, and speed. Hardwired connections support higher amperages (48A or greater on a 60A breaker), eliminate plug contact wear, and avoid the cost of an industrial-grade NEMA receptacle and standalone GFCI breaker.
What breaker size do I need for a 48-amp EV charger?
A 48-amp EV charger requires a 60-amp double-pole circuit breaker. Under the National Electrical Code 80% continuous load rule, the breaker and circuit wiring must be rated for 125% of the continuous current draw ($48\text{ A} \times 1.25 = 60\text{ A}$).
How much value does a home EV charger add to a property?
A professionally installed Level 2 home charging station enhances property appeal and resale potential, particularly among EV buyers. Real estate studies indicate homes with dedicated EV charging infrastructure sell faster and command a premium over unequipped homes in similar markets.