You bought an EV, or you’re about to, and you want to know when you can stop relying on public chargers. It’s a fair question. Most of the wait comes from planning, permits and scheduling, not from the installation itself.
Quick answer: For many homes, the hands-on installation of a Level 2 charger takes a few hours to one day. The full timeline from quote to charging depends on your electrical panel, the wiring route and your city’s permit and inspection schedule.
Below, we walk through each stage so you know what to expect.
The Short Answer: How Long Does EV Charger Installation Take?
There are really two clocks running. The first is the installation day, which is the time our electricians spend on your property. The second is the project timeline, which includes the quote, permit, scheduling, installation and final inspection.
For a typical Level 2 home charger where the panel has room and the garage is close to it, installation day is often short. Some properties need more work, such as a panel upgrade, a longer wiring run or digging a trench to a driveway or detached garage. Those jobs take longer, and the project timeline stretches with them.
Here is a general guide. These are planning ranges, not guarantees, and we confirm your actual schedule when we quote.
| Project type | Typical installation time | What can add time |
|---|---|---|
| Level 2 charger, panel has capacity, short wire run | A few hours to one day | Permit scheduling, equipment availability |
| Level 2 charger, long wire run or exterior route | One day or more | Distance, wall or surface conditions |
| Level 2 charger with trenching | One to several days | Digging, conduit, restoring the surface |
| Level 2 charger with a panel upgrade | Longer, often a multi-step job | Utility coordination, inspection timing |
| Level 3 (commercial) installation | Planned as a larger project | Utility coordination, site design, permits |
Your own timeline may land at either end of these ranges. That’s why we start with a clear look at your property rather than a one-size-fits-all promise.
Level 1, Level 2 and Level 3: How Charger Type Changes the Timeline
The charger level has a direct effect on the work involved. Each level uses different power, and more power usually means more electrical planning.
| Level 1 | Level 2 | Level 3 | |
|---|---|---|---|
| Power source | Standard household outlet | 240-volt dedicated circuit | High-power DC fast charging equipment |
| Charging speed | Slowest | Much faster than Level 1 | Fastest |
| Typical setting | Occasional or backup use | Homes, apartments, offices | Businesses and commercial sites |
| Installation effort | Minimal | Moderate, often a single visit | Significant, planned project |
| Permit and utility involvement | Usually limited | Common | Extensive |
Level 1 charging plugs into a regular outlet that already exists. It requires very little installation, but it’s slow, which is why most EV owners move to Level 2.
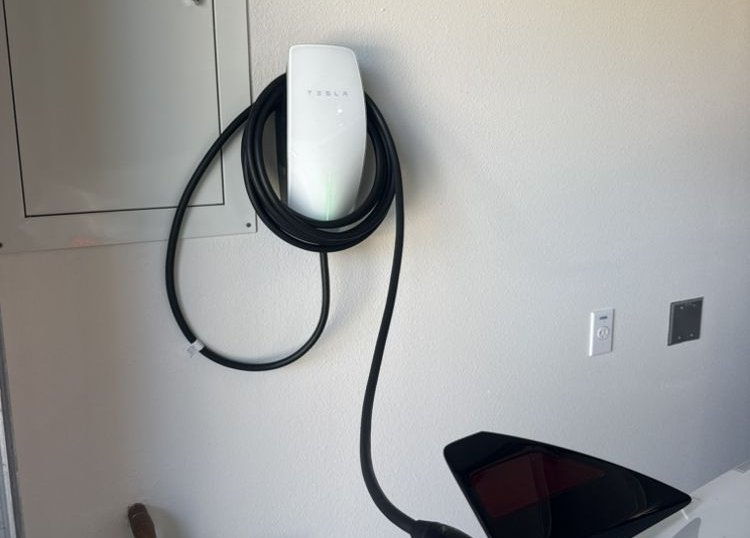
Level 2 is the most common home installation we handle. It needs a dedicated circuit and a properly mounted charger. Our EV charging installation service covers Level 2 for homes and businesses across Orange County.
Level 3 is a commercial-scale project. It involves heavier electrical infrastructure and closer coordination with the utility, so we plan the schedule around your site. Because every location is different, we provide a custom timeline after reviewing the property.
What Affects How Long EV Charger Installation Takes
No two properties are alike. These are the factors that most often change the schedule.
Your Electrical Panel Capacity
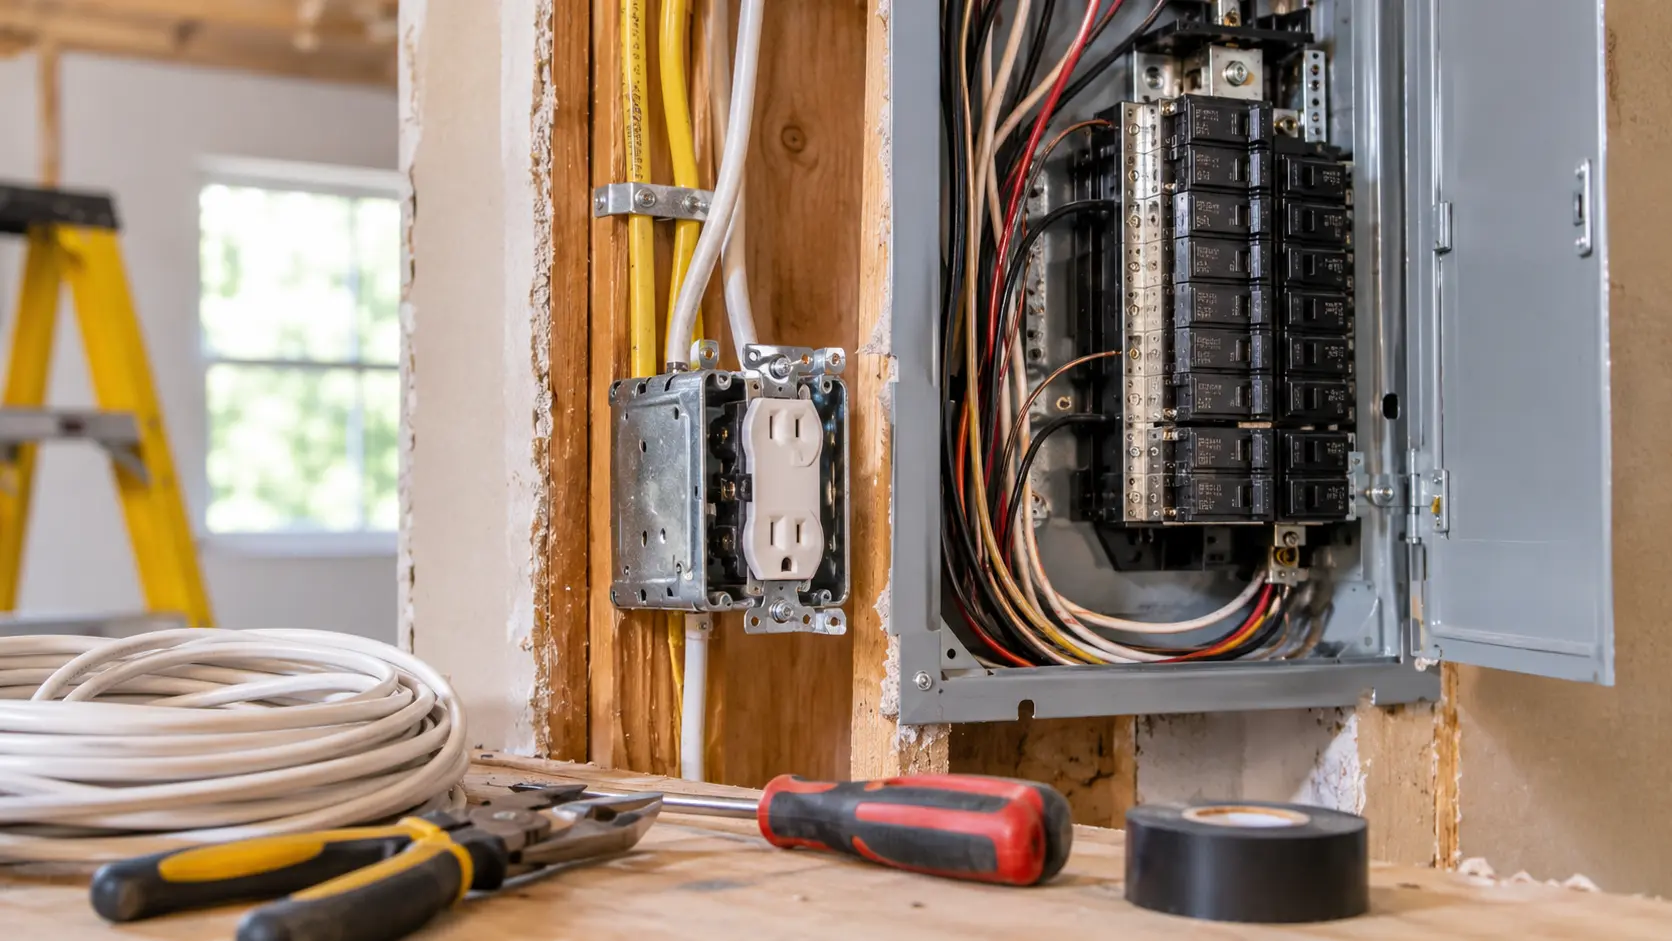
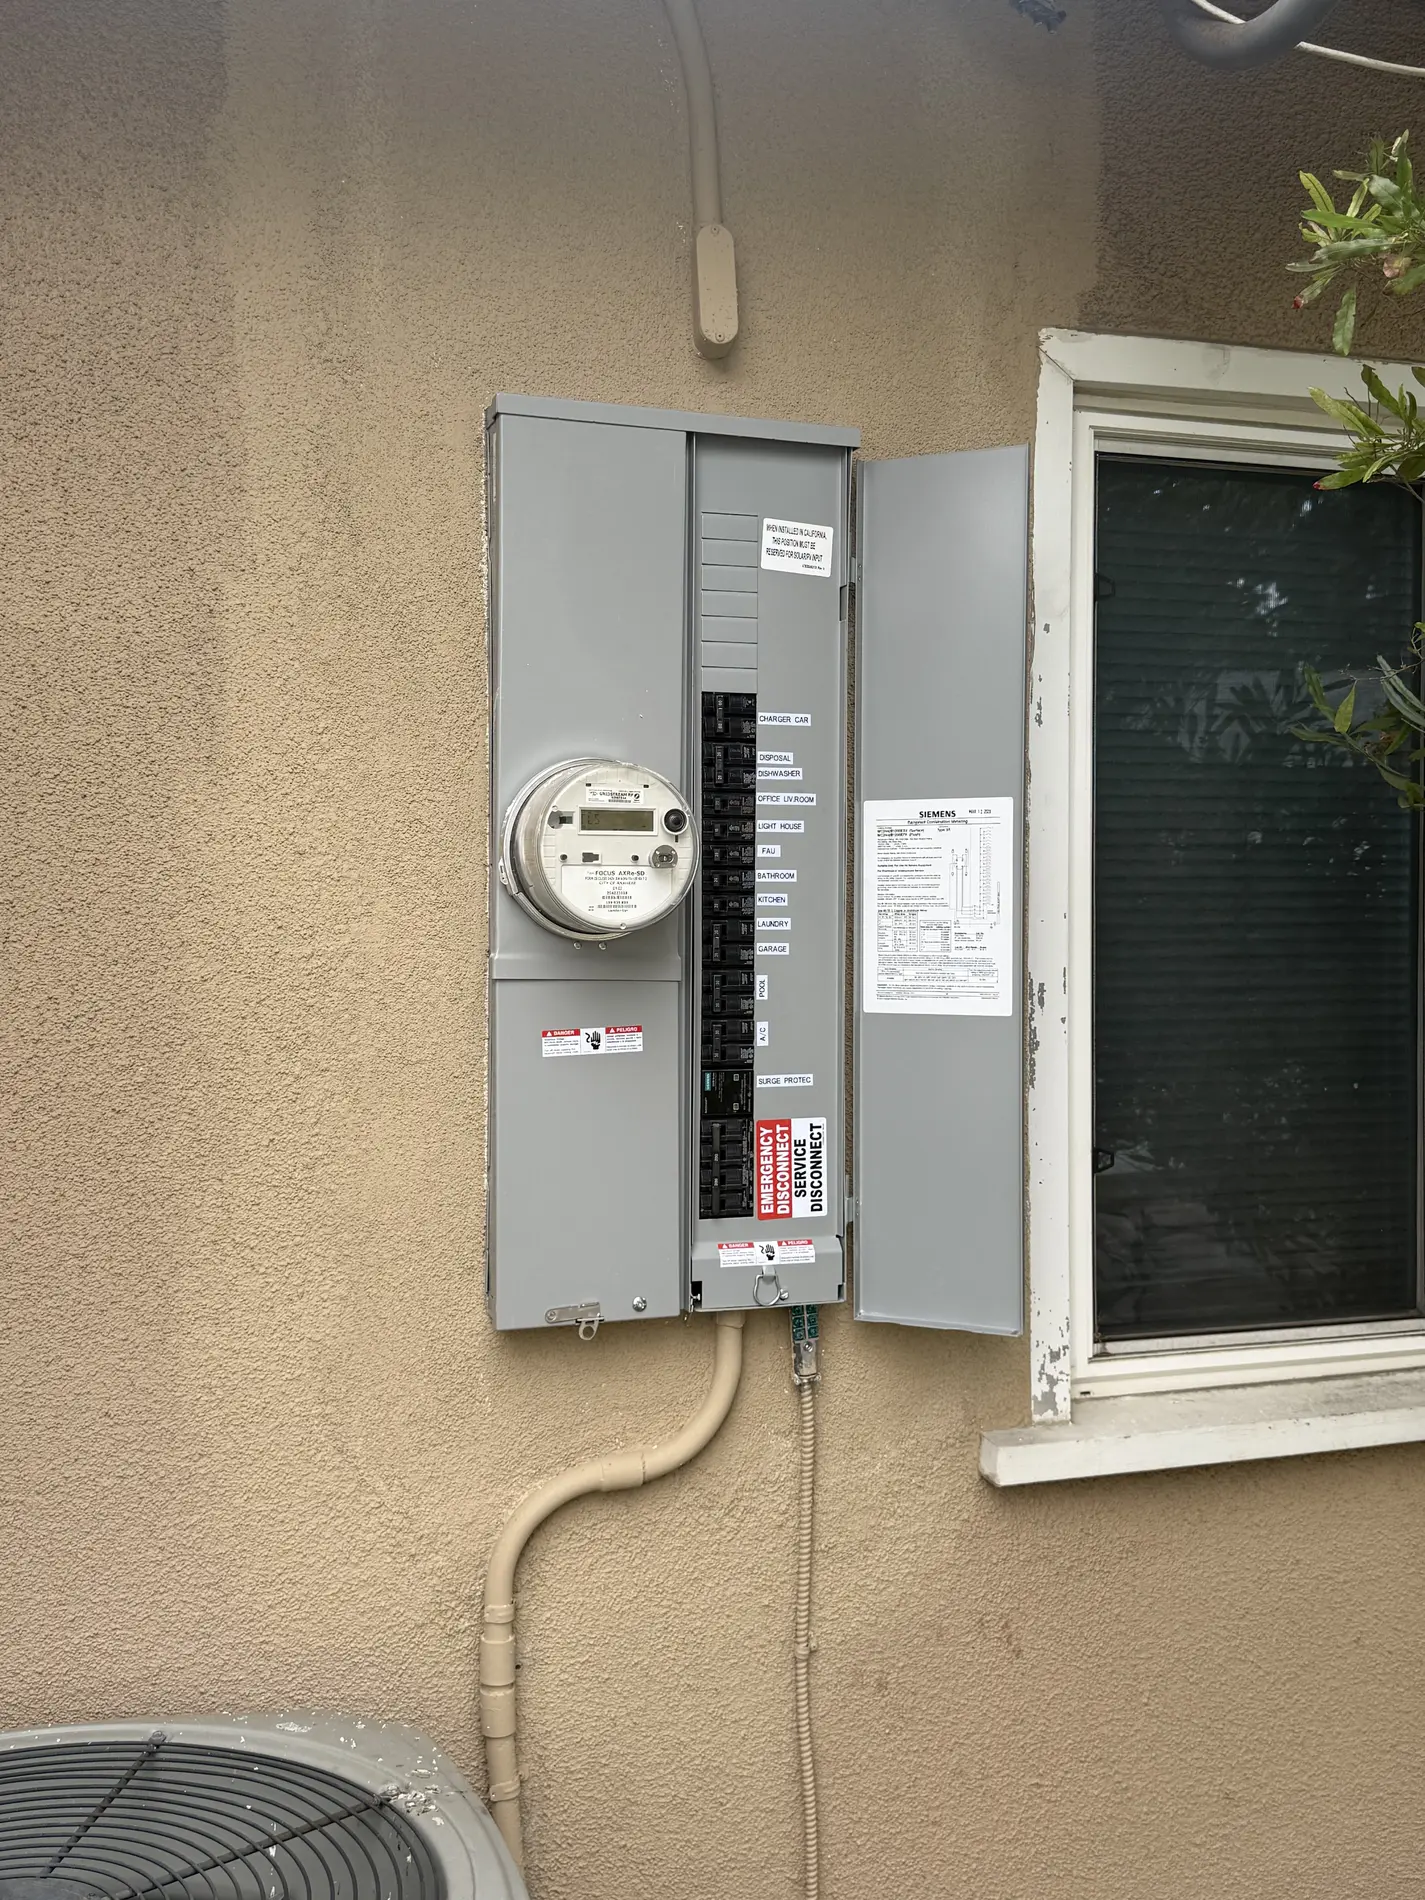
The panel is the starting point of every EV charger project. If it has room for a new dedicated circuit, installation tends to move quickly. If it doesn’t, you may need an upgrade first. A panel upgrade adds steps, including permitting, utility coordination and inspection, so it extends the overall timeline.
Not sure where your panel stands? Our team can tell you from photos, and our guide on electrical panel upgrades explains when one makes sense.
Distance From the Panel to the Charger
The farther the charger is from your panel, the more wire and conduit we run. A charger on the garage wall right next to the panel is a quick job. A charger on the opposite side of the house, or on a detached structure, takes more labor and planning.
Trenching and Surface Conditions
Some installations need conduit routed outside, such as to a driveway post or a detached garage. That can mean trenching through soil or working around concrete, landscaping or hardscape. These conditions add time, and we explain them in your quote so nothing comes as a surprise.
Property Type
A single-family home is usually the most straightforward. Townhomes, condos and multi-unit buildings can involve shared panels, parking arrangements and approvals from an HOA or property manager. Commercial properties add further planning around layout, parking and the number of chargers.
Equipment and Scheduling
We install a range of equipment brands, including JuiceBox, Emporia and Wallbox, and we work with SPAN smart panels as an authorized installer. Your choice of charger can affect when equipment is ready, and our calendar affects when we can start. We confirm both when you book.
The EV Charger Installation Timeline, Step by Step
Here is how a typical project moves from first contact to your first charge.
Step 1: Submit Your Details
You contact us with basic information about your vehicle, your property and where you’d like the charger. You can also send photos or a short video of your electrical panel and garage. That often lets us start your quote without waiting for an in-person visit.
Step 2: Receive a Customized Quote
We review what you’ve sent and prepare a customized quote. It spells out the work, the equipment and the timeline, so you know the plan before anything begins. Our pricing is transparent, and you see the quote before work starts.
Step 3: Permits and Scheduling
Once you approve the quote, we handle the permit paperwork and pick an installation date that works for you. The length of this step depends on your city and, in some cases, the utility. It varies, and we confirm the details for your address.
Step 4: Expert Installation
Our licensed electricians arrive, complete the work and test the system. We explain more about what happens on that day in the next section.
Step 5: Inspection and Ready to Charge
After installation, the work is inspected as required in your area. Once everything is approved, your charger is ready to use. We walk you through how it operates before we leave.
What to Expect on Installation Day
Installation day is usually the most predictable part of the project. Here is a general picture of how it goes.
Arrival and walkthrough. Our electricians review the plan with you, confirm the charger location and check the route for the wiring.
Power safely off. We shut off power where needed before any electrical work begins. This is routine for us, and you don’t need to do anything beyond giving us access to the panel and garage.
Wiring and mounting. We run the dedicated circuit, mount the charger and make the connections to code. All of this work is done by our licensed team.
Testing. We power the system up, test it and confirm it communicates correctly with your vehicle.
Cleanup and walkthrough. We leave the area tidy and show you how to use your charger, including any app or settings that come with it.
For a straightforward Level 2 job, this often fits within a day. Jobs with trenching, longer runs or a panel upgrade take more time, and we tell you in advance.
Permits, Inspections and Utility Coordination
This is the part of the timeline most homeowners underestimate, and it’s the part we take off your plate. Permits, inspections and utility coordination are included in our service. We prepare and submit the paperwork, schedule the inspection and coordinate with the utility when the project calls for it.
Review times and inspection availability vary by city and by utility. We don’t guess at them. When we quote your project, we confirm what applies to your address.
Permits and inspections exist for good reasons. They protect your safety by confirming the work meets code. They protect your insurance, since unpermitted electrical work can create problems if you ever file a claim. And they protect your property value, because documented, inspected work is far easier to explain when you sell. If you’d like more detail, our article on whether you need a permit to install an EV charger covers it.
Cost Factors That Affect Your Timeline and Price
Time and cost tend to rise and fall together. A longer wire run or a panel upgrade adds hours and adds materials. We don’t publish one-size-fits-all numbers, because the right price depends on your property. What we do is name the factors clearly.
| Factor | How it affects the timeline | How it affects the price |
|---|---|---|
| Panel capacity | An upgrade adds steps | Adds cost if an upgrade is needed |
| Distance from panel to charger | Longer runs take longer | More wire and labor |
| Trenching | Adds digging and restoration | Adds labor and materials |
| Permit fees | Adds review time | Fees vary by city |
| Equipment choice | Can affect availability | Varies by charger |
| Property type | Shared panels need coordination | Depends on the setup |
We give you a clear quote before any work starts, with no surprises on installation day. If you’d like help understanding what drives pricing, our pricing page is a good place to begin.
How to Prepare and What You Can Safely Check Yourself
A little preparation can keep your project moving. These steps are safe for any homeowner:
- Take clear photos or a short video of your electrical panel and the garage or parking area. This is often enough to start your quote.
- Decide where you’d like the charger. Think about where your vehicle parks and where the charging cable will reach.
- Check for a tripped breaker. If a breaker has flipped, you can reset it by following the label. If it trips again, stop and call us.
- Reset a GFCI outlet if one has tripped, using the “reset” button on the outlet.
- Unplug devices on a circuit you suspect is overloaded, to help find the cause.
- Note any symptoms, such as flickering lights, warm outlets or breakers that trip often, and tell your electrician.
Always turn off power before checking anything, and never touch exposed wires.
The following jobs are not DIY. If your project involves any of them, stop and call a licensed electrician:
- Work inside the electrical panel, service entrance or meter
- Breaker replacement
- Hard-wired circuits
- Wiring inside walls
- EV charger installation
- Generator connections
These tasks carry real risk of shock, fire and code violations. They also usually require permits and inspections.
Safety and Code Compliance
Everything we install is done to code. BeniteX Electric Inc is a licensed and insured C-10 Electrical Contractor (CSLB #1130816). We’re a Tesla Certified Installer and a SPAN Authorized Installer, and we specialize in electrical panel upgrades.
A charger runs for long stretches at high demand. A rushed or incorrect installation can create overheating, nuisance tripping or worse. Doing it right the first time, with the correct circuit, the right equipment and an inspection at the end, is what keeps your home and your vehicle safe.
If you notice warning signs after any installation, such as a hot charger, a burning smell, scorch marks or repeated breaker trips, stop using the charger and call a licensed electrician. Our EV charging maintenance service covers inspection, repair and troubleshooting if something doesn’t seem right.
Frequently Asked Questions
How long does it take to install a Level 2 EV charger at home?
For many homes, the installation itself takes a few hours to one day when the panel has capacity and the wiring route is short. Trenching, long runs or a panel upgrade add time. We confirm your timeline when we quote, including permit and inspection scheduling.
Can you install an EV charger in one day?
Often, yes, for straightforward Level 2 jobs. If your project needs a panel upgrade, extra wiring distance or trenching, it may take longer. The permit and inspection steps are separate from installation day, and we explain how they fit into your schedule.
Do I need a permit for EV charger installation?
Permit requirements depend on your city and the scope of work. We handle permits, inspections and utility coordination as part of our service and confirm what applies to your address, so you don’t have to chase paperwork.
Will I need an electrical panel upgrade first?
Not always. It depends on whether your panel has room for a new dedicated circuit. Photos of your panel often let us tell you quickly. If an upgrade is needed, we include it in your quote so the full plan is clear upfront.
Can I get a quote without a site visit?
In many cases, yes. You can send photos or a short video of your electrical panel and garage, and we prepare a customized quote from those. If we need to see something in person, we tell you before moving forward.
Ready to Plan Your EV Charger Installation?
Now you know the answer to “how long does EV charger installation take?” It usually comes down to your panel, your wiring route and your city’s permit schedule. The best way to get an exact timeline is to let our team look at your property.
Call us at (949) 259-5956 or book a consultation online. We serve Orange County homeowners and businesses, including Irvine and Newport Beach. Our office is at 845 Estancia, Irvine, CA 92602, and you can also email info@benitexelectric.com. Hours are Monday to Friday, 8:00 AM to 6:00 PM, and Saturday, 8:00 AM to 4:00 PM.
You’ll get a clear quote before we start, and permits, inspections and utility coordination are included. We’re rated 5.0 on Google (40+ reviews) and 4.9 on Yelp (100+ reviews), and we also offer a Military Purchase Program and a Referral program.