By BeniteX Electric Inc | Licensed C-10 Electrical Contractor, CSLB #1130816
If you are opening up walls, finishing a garage, adding an accessory dwelling unit or redoing your driveway, a remodel is the best time to add an EV charger. The walls are open, the trenches are dug and the electrical plan is already on the table. Adding a charger later means patching drywall, repainting and sometimes breaking concrete, so doing it during the remodel can save real time and money.
This guide explains how to remodel EV charger installation the right way: where to place the charger, how to check your panel, what wiring to run, which permits you need and how to sequence the work so nothing gets torn up twice. It is written for Orange County homeowners, but the principles apply to any California home.
If you would rather talk to a licensed electrician now, our EV charging installation team can walk your property and give you a written quote. You can also contact us or call (949) 259-5956.
What Does “How to Remodel EV Charger Installation” Actually Mean?
People use this phrase in a few different ways, and your plan depends on which one fits your project:
- Adding a charger during a larger remodel. You are renovating a garage, kitchen, addition or whole house and want EV charging built in from the start.
- Remodeling your electrical system to support a charger. Your home needs a panel upgrade, new circuit or new wiring before a charger can be added safely.
- Relocating or upgrading an existing charger. You are moving a Level 1 or Level 2 charger, replacing an older unit or adding a second one.
In all three cases, how to remodel EV charger installation comes down to the same process: plan the load, plan the route, pull the permit, install, inspect and test. The sections below follow that order.
Step 1: Decide Where the Charger Will Go
Location drives almost every other decision, including cost. Before the contractors start, think through these questions:
- Where do you park? Most owners mount the charger in the garage or on an exterior wall by the driveway. Choose the spot closest to the panel that still reaches your charge port comfortably.
- Where is the charge port on your vehicle? Ports can be on the front, rear or either side. A cable that reaches the port on every parking approach saves you from repositioning the car.
- Will you ever own two EVs? If so, plan for two chargers now, or a single charger that can share power between two vehicles.
- Is the location indoors or outdoors? Outdoor units need a weather-rated enclosure and protection from direct sprinkler spray and vehicle impact.
- How far is the panel? Distance matters. A long run needs thicker wire to avoid voltage drop and adds material and labor.
During a remodel you also have options that are hard to get later. You can place the charger on a finished wall that has blocking installed behind it, hide conduit inside a framed wall or soffit and install a junction box in the right spot before drywall goes up. Mark the planned location on your remodel drawings so the framers, drywall crew and electrician all work from the same plan.
Step 2: Check Your Electrical Panel Capacity First
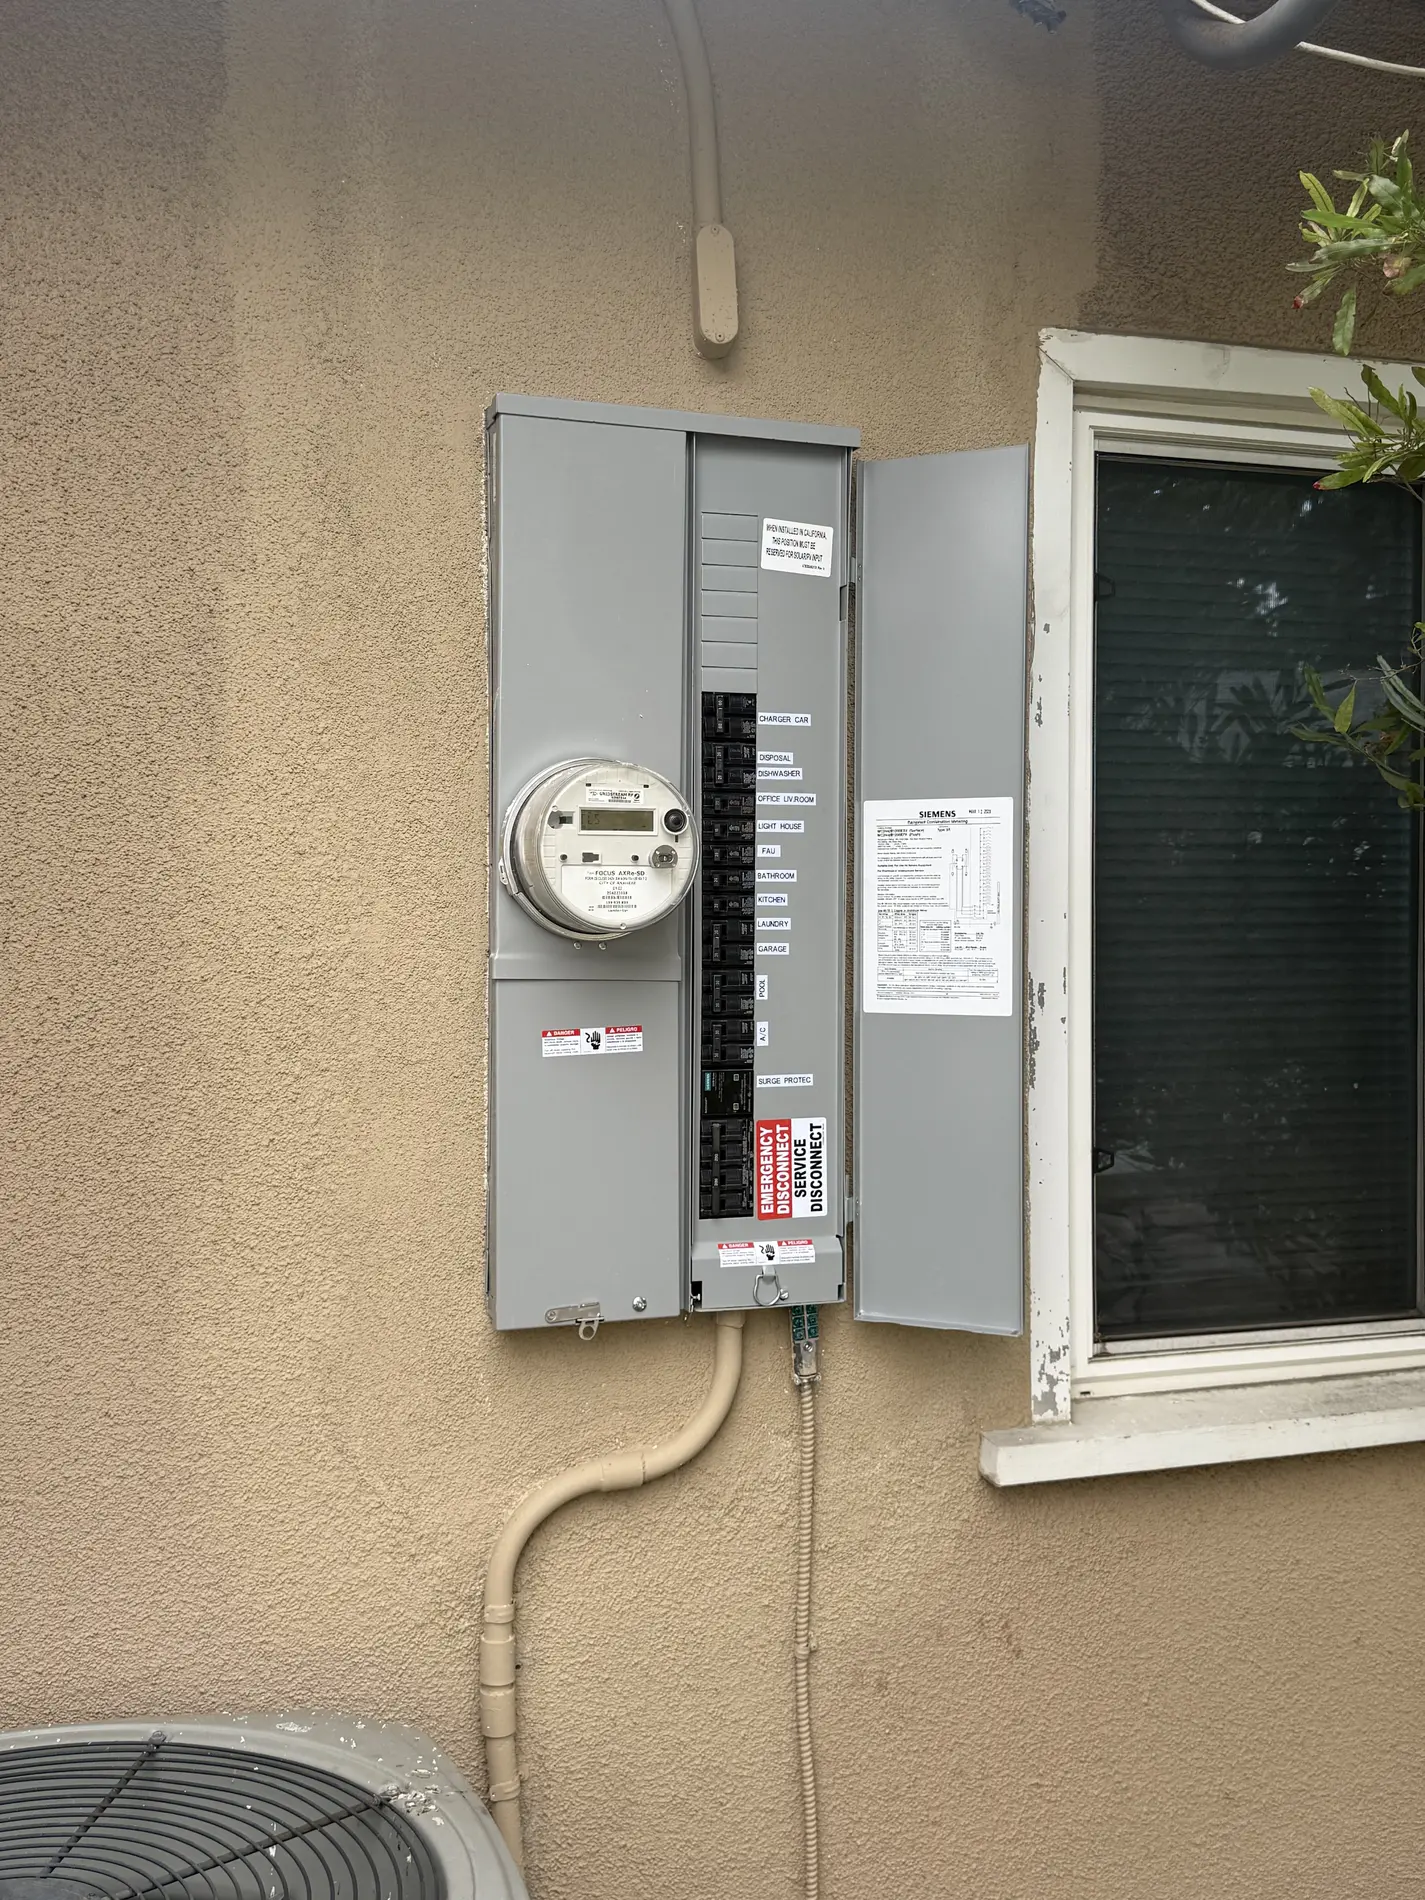
This is the step homeowners skip most often, and it is the one that can derail a project. A Level 2 charger is a large continuous load. It can run for hours at a time, and the National Electrical Code requires the circuit to be sized at 125 percent of the charger’s continuous load. In practical terms, a charger that draws 40 amps needs a 50-amp circuit.
Before choosing a charger, an electrician should perform a load calculation on your home. This looks at your panel’s rating, your existing loads (HVAC, range, dryer, water heater, pool equipment) and the amount of spare capacity left for charging. You will usually land in one of three situations:
- You have plenty of capacity. A new 240-volt circuit can be added to your existing panel.
- You are close to the limit. A load management device or a lower-amperage charger may solve the problem without major work.
- Your panel is too small or outdated. A panel upgrade is the right move, especially if your home still has a 100-amp service or a fuse box.
A remodel is an ideal time to deal with this. If you are already adding a bedroom, ADU, heat pump or electric range, your total load is changing anyway, and one panel upgrade can cover all of it. Our guide on fuse box vs. circuit breaker explains why older equipment is worth replacing, and breaker keeps tripping? 6 causes and how to fix them safely covers the warning signs that your panel is already overloaded.
Step 3: Choose the Right Charger Level and Amperage
Not every charger needs the same wiring, so pick the charger before you finalize the electrical plan.
Level 1 (120 volts). This uses a standard outlet and adds only a few miles of range per hour. It works as a backup but is rarely enough for daily driving.
Level 2 (240 volts). This is the standard for homes. Depending on amperage, a Level 2 charger typically adds somewhere around 20 to 40 miles of range per hour and can fully charge most EVs overnight. Most residential chargers range from 32 to 48 amps, and some go higher.
Level 3 / DC fast charging. This is mainly for commercial sites and requires three-phase power and significant infrastructure. It is not typical for a house, but it may be relevant for a business, fleet or multifamily property.
When choosing, consider:
- Your vehicle’s onboard charger limit. A 48-amp charger does nothing extra for a car that can only accept 32 amps.
- Hardwired vs. plug-in. A hardwired unit is generally cleaner and can support higher amperage. A NEMA 14-50 outlet is more flexible if you may swap chargers later.
- Smart features. Wi-Fi scheduling lets you charge during off-peak hours and tracks energy use, which matters under time-of-use utility rates.
- Brand compatibility. We install popular brands, and our team is a Tesla Certified Installer, so we can match the charger to your vehicle and your budget.
Not sure whether to charge at home at all? See our comparison of home EV charging vs. public charging.
Step 4: How to Remodel EV Charger Installation Wiring While the Walls Are Open
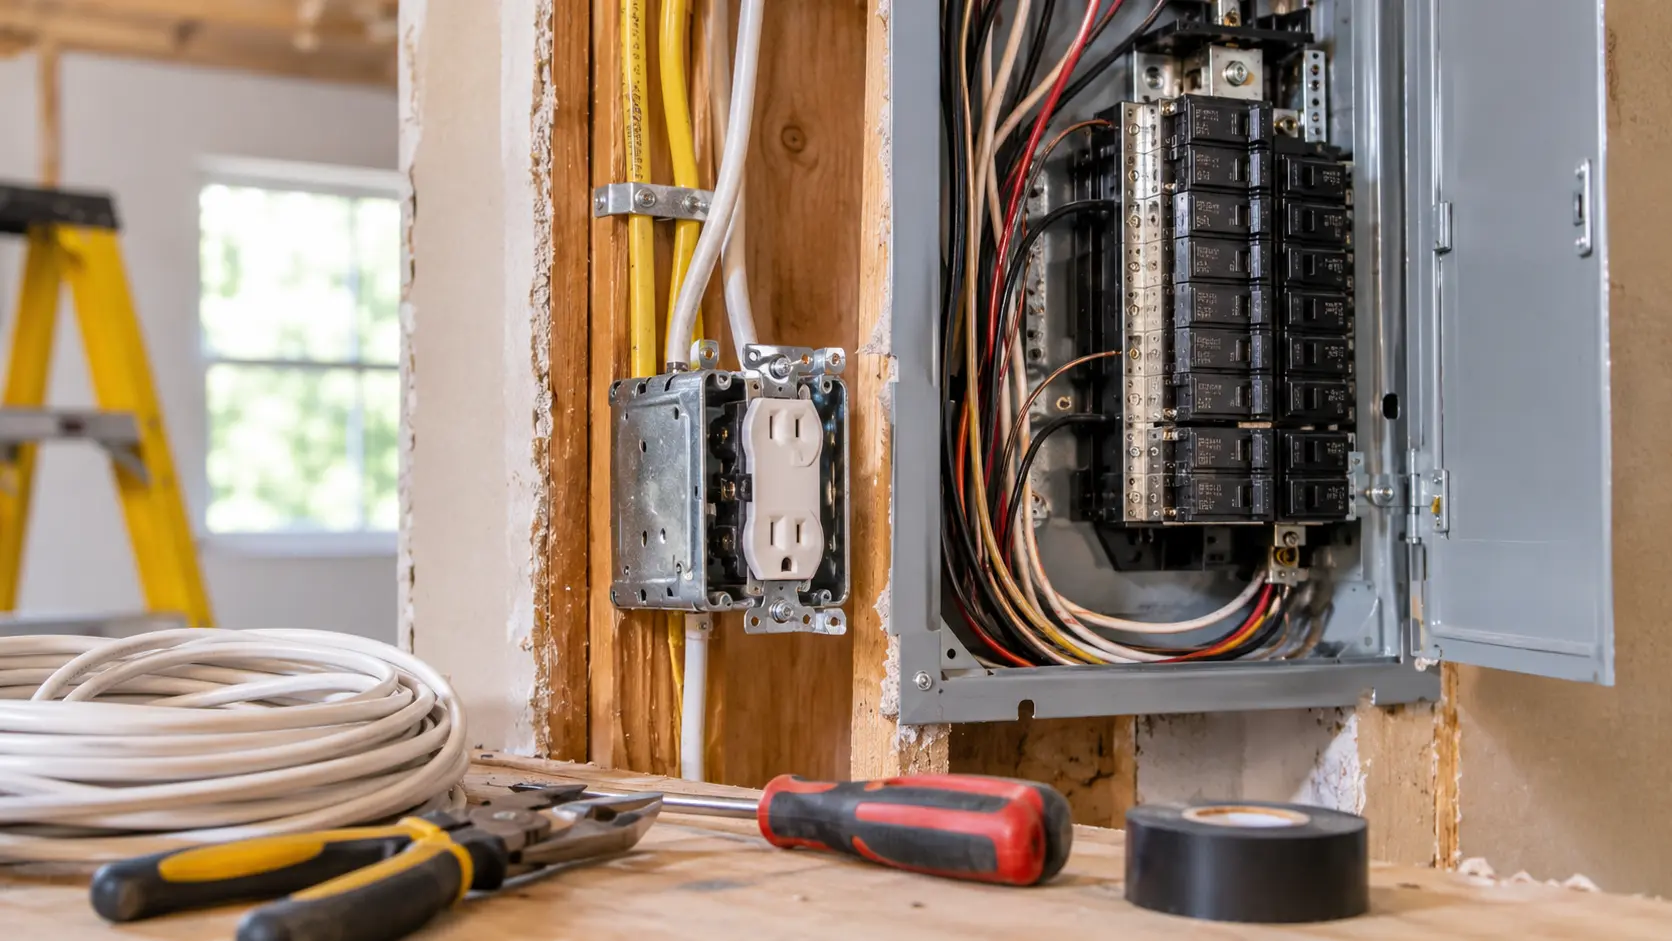
This is where remodeling gives you a real advantage. Running wire to a finished garage can mean cutting drywall, fishing wire through insulation or trenching across a patio. During a remodel, the same work is far easier.
Inside the home
- Run conduit or properly protected cable from the panel to the charger location before insulation and drywall are installed.
- Add a junction box or receptacle at the planned location and mark it on the plans.
- Install wood blocking behind the wall so the charger mounts securely.
- Leave an extra empty conduit if you may add a second charger, solar or battery storage later.
Outside the home
- If the charger goes on an exterior wall, coordinate with the stucco or siding crew so conduit is installed before finishes go on.
- If it goes on a pedestal in the driveway, plan the trench before any concrete, pavers or landscaping are poured or installed. Trenching after the fact is one of the most expensive parts of an EV install.
- Specify the right conduit and burial depth for the location. Your electrician and local building department will confirm the requirements.
Future-proofing
A smart rule: install the wire and conduit for the charger you might want in five years, not only the one you are buying today. Copper and conduit are cheap compared to opening the wall again. A larger circuit also leaves room to upgrade to a faster charger or a second EV.
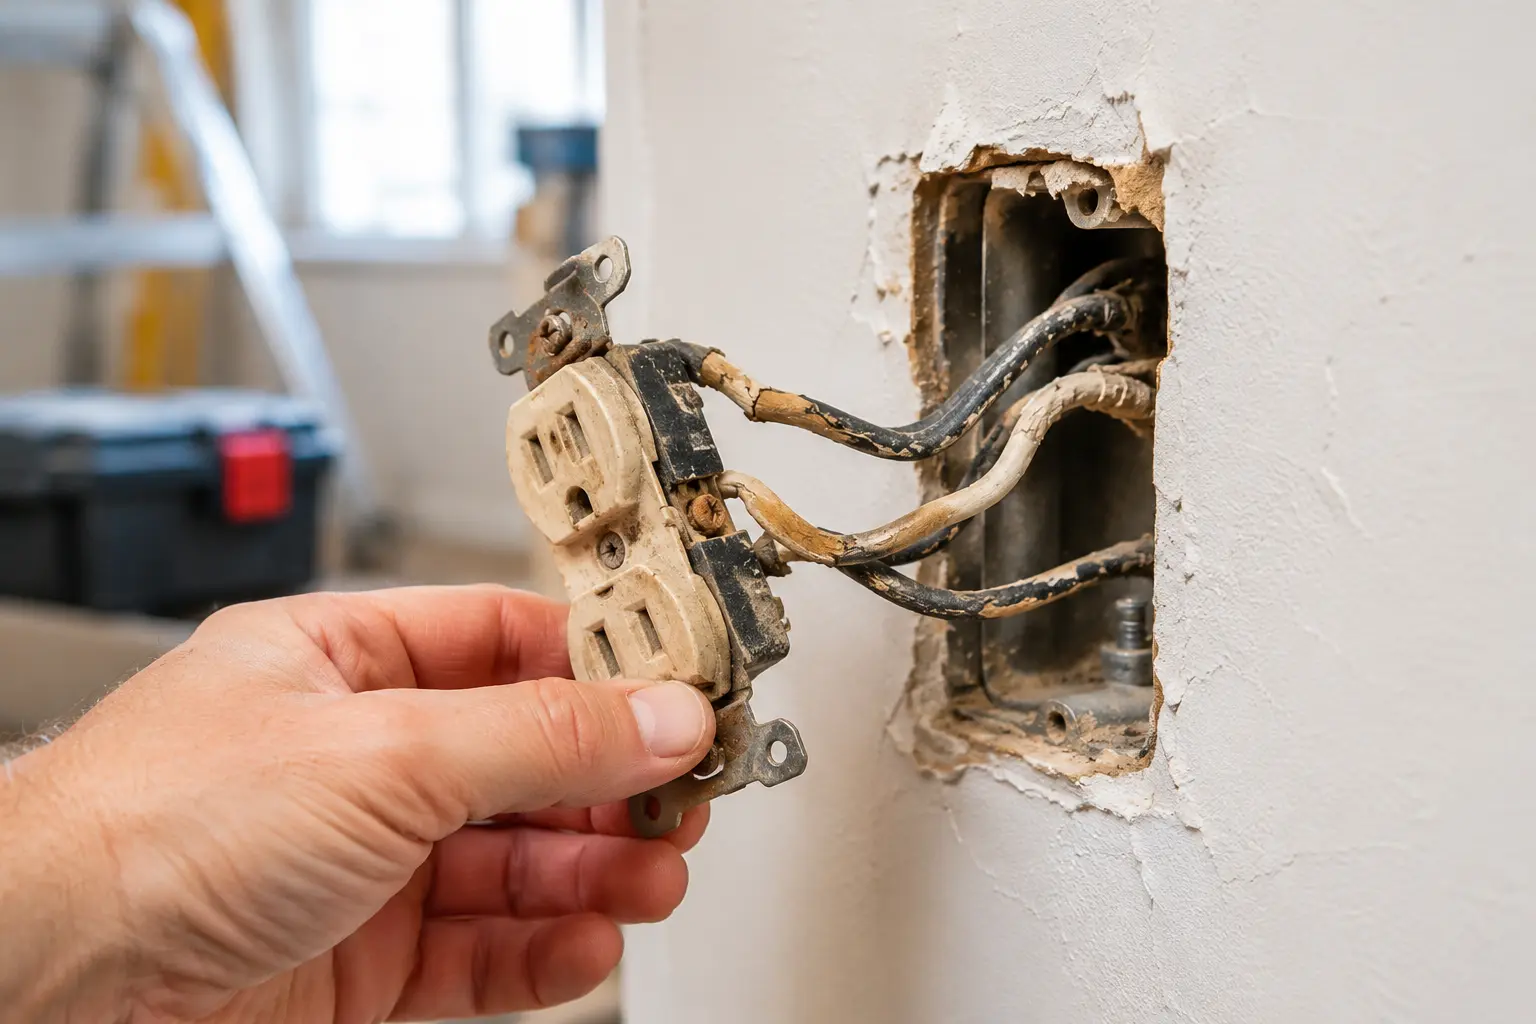
If your remodel exposes old wiring, take that seriously. Cloth-insulated wire, two-prong outlets and aluminum branch wiring are not safe foundations for new high-demand circuits. Read 7 warning signs of outdated electrical wiring and our 2026 guide to the cost of rewiring a house so you know what to look for before the walls are closed.
Step 5: Permits, Inspections and Utility Coordination
In California, installing a new 240-volt EV charger circuit generally requires an electrical permit from your city or county building department. The work is then inspected to confirm it meets the California Electrical Code and National Electrical Code requirements for EV charging equipment.
If your charger is part of a larger remodel, the permit may be combined with or referenced by your main building permit. Either way, do not skip it. Unpermitted electrical work can cause problems with insurance claims, home sales and utility service.
You may also need to coordinate with your utility, which in much of Orange County is Southern California Edison. If a panel or service upgrade is involved, the utility may need to disconnect and reconnect power. Some utilities also offer EV-specific rate plans or incentive programs, so check what applies to your address before you buy equipment.
BeniteX handles this paperwork for you. Permits, inspections and utility coordination are part of our process, which is one reason customers tell us the project felt easy. See what other homeowners say on our reviews page.
Step 6: Sequence the Work So Nothing Gets Torn Up Twice
When planning how to remodel EV charger installation, a good order of operations saves money and avoids delays. A typical sequence looks like this:
- Planning and load calculation. Confirm panel capacity and choose the charger and location before demolition begins.
- Permit application. Submit early, because review times vary by city.
- Rough-in electrical. Run conduit, wire and boxes while framing is exposed. Panel work happens at this stage if needed.
- Rough inspection. The inspector checks the work before it is covered.
- Insulation, drywall, stucco and paint. Finishes go on only after the rough inspection passes.
- Trim-out and charger installation. The electrician mounts the charger, makes final connections and programs any smart features.
- Final inspection and testing. The inspector signs off and the charger is tested with a real vehicle.
For realistic timing on the installation itself, see how long does EV charger installation take?
What Affects the Cost of an EV Charger Remodel?
There is no single price, because every home is different. These are the biggest factors:
- Distance from the panel to the charger. Longer runs cost more in wire, conduit and labor.
- Panel capacity. A panel upgrade is the largest potential add-on, but it also adds value to the home and supports future loads.
- Charger type and amperage. Higher-amp and smart chargers cost more than basic units.
- Surface and construction. Running conduit through finished stucco, concrete or a detached garage costs more than working in an open wall.
- Trenching and landscaping. Digging and restoring concrete, pavers or plants adds cost.
- Permit and inspection fees. These vary by city.
- Incentives. Utility and local programs can offset costs. Federal charger incentives have been changing, so check what is currently available before you count on them.
Because the work is already scheduled, bundling EV charging into a remodel is usually less expensive than treating it as a separate project later. For general pricing information, visit our pricing page, or request a written quote based on your actual property.
Common Mistakes to Avoid
- Picking a charger before checking the panel. Always do the load calculation first.
- Putting the charger too far from the parking spot. A cable that does not reach the port is a daily annoyance.
- Skipping conduit for “later.” Adding it after drywall and stucco is much more expensive.
- Choosing the cheapest bid without checking the license. In California, electrical work should be done by a licensed C-10 contractor.
- Ignoring permits. It can create trouble when you sell or file an insurance claim.
- Forgetting future needs. A second EV, solar, battery storage or a generator can change your panel plan.
We cover more of these in common EV charger installation mistakes and how to avoid them. If you are also considering backup power in your remodel, our guides on what size generator you need and whole house generator cost can help you plan the panel for both.
How to Remodel EV Charger Installation Across Orange County
Building rules, utilities and housing styles vary from city to city, so local experience matters. We serve homeowners and businesses throughout the county, including:
- Irvine and Newport Beach, where newer homes often have solar and need load planning for charging
- Laguna Beach and Mission Viejo, where hillside and older garage layouts can affect wiring routes
- Santa Ana, Anaheim and Garden Grove, where many homes have older panels that benefit from an upgrade
- Fullerton, Orange and Yorba Linda, where remodels, additions and ADUs are common
- Cypress and Cerritos, plus the surrounding communities listed on our areas we serve page
Whichever city you are in, your electrician should know the local permitting process and the inspectors’ expectations.
Why Orange County Homeowners Choose BeniteX Electric
EV charging work touches your panel, your walls and your safety, so who you hire matters. With BeniteX you get:
- A licensed C-10 electrical contractor (CSLB #1130816)
- Tesla Certified Installer and SPAN Authorized Installer credentials
- Panel upgrade expertise, so your charger is backed by a safe electrical system
- Permits, inspections and utility coordination handled for you
- Clear communication and written quotes with no surprise charges
- Ongoing support, including EV charging maintenance after installation
You can see examples of finished work on our projects page and get quick answers on our FAQ page.
Frequently Asked Questions
Can I add an EV charger during a remodel without upgrading my panel?
Sometimes. It depends on your panel’s capacity and your existing loads. An electrician has to do a load calculation to know for sure. If your home has a small panel, a fuse box or heavy electric loads, an upgrade is often the safest path.
How much does it cost to add an EV charger during a remodel?
Cost depends on the distance to your panel, the charger you choose, the need for a panel upgrade and the finishes involved. Remodel projects often cost less than retrofits because walls are already open. Request a quote for an exact figure.
Do I need a permit to install an EV charger in California?
In most cases, yes. A new 240-volt circuit typically requires an electrical permit and inspection. A licensed contractor will pull the permit and schedule the inspection for you.
Is Level 2 charging worth it for a home?
For most drivers, yes. Level 2 charging can refill most of a day’s driving overnight, which Level 1 usually cannot do.
Should I install conduit now even if I’m not buying an EV yet?
If you are already opening the wall or trench, yes. Running conduit and a properly sized circuit path is inexpensive during a remodel and saves a lot of cost and disruption later.
How long does the installation take?
A straightforward install can take a few hours to a day once permits are in place, but remodels, panel upgrades and inspections change the schedule. See our full installation timeline.
Can BeniteX work with my general contractor?
Yes. We coordinate with general contractors, framers, stucco crews and inspectors so the electrical work fits the remodel schedule.
Ready to Plan Your EV Charger Installation?
Now that you know how to remodel EV charger installation the smart way, remember that a remodel is the easiest and most cost-effective time to add EV charging to your home. With the right plan for your panel, wiring route, permits and charger, you will avoid rework and end up with a system that is safe, code-compliant and ready for whatever you drive next.
BeniteX Electric serves homeowners and businesses across Orange County. Book a consultation or call (949) 259-5956 to talk with a licensed electrician about your remodel. You can also explore our full range of electrical services or visit our office at 845 Estancia, Irvine, CA 92602.